Exploring the Artistic Journey of Reduction Firing
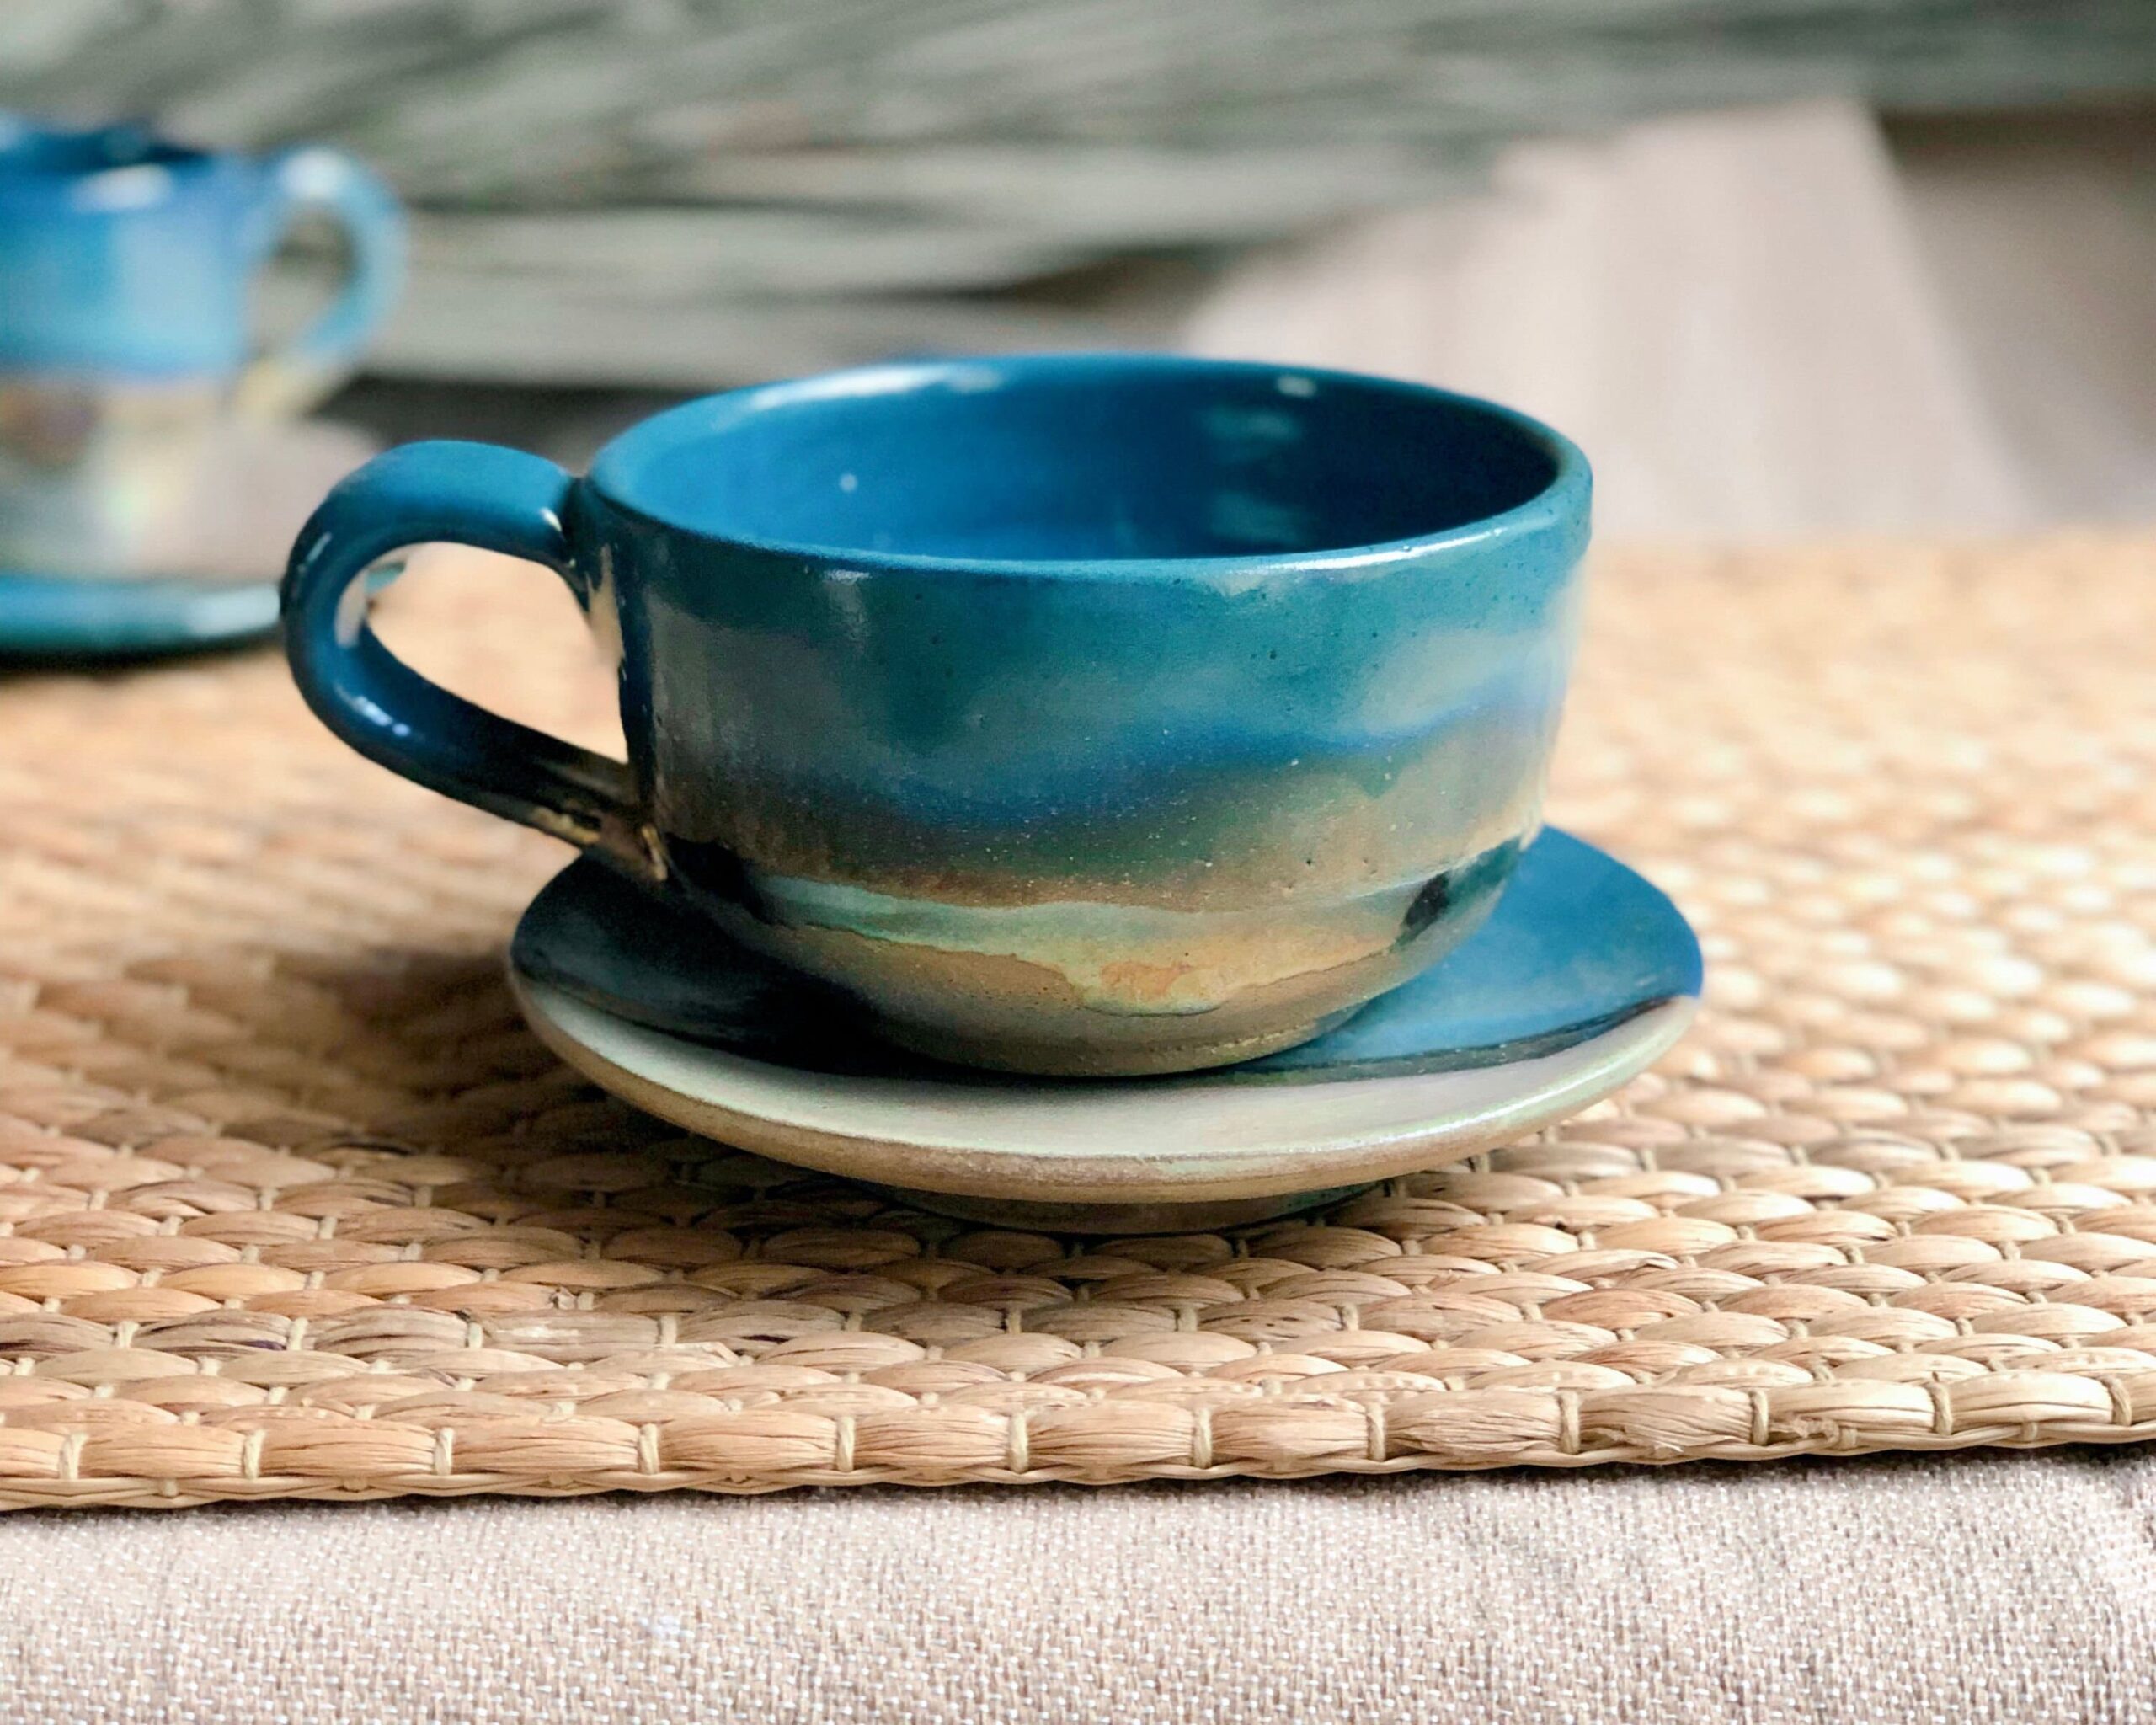
Reduction firing is a fascinating technique in ceramics that transforms ordinary clay into spectacular works of art. This process involves manipulating the oxygen supply during firing to achieve rich and vibrant colors that are rarely found in other firing methods. Artists cherish reduction firing not just for its aesthetic results, but also for the unique textures and finishes it brings to each piece.
In this article, we will guide you through the essentials of reduction firing. We’ll start by understanding the fundamentals of this technique, then move on to the materials and glazes that best complement it. Next, we’ll discuss how to prepare effectively for the firing process. You’ll learn various techniques for achieving vibrant colors, making your pottery stand out with breathtaking hues. Finally, we’ll address common challenges, equipping you with troubleshooting tips to enhance your results. Let’s embark on this colorful journey together!
Discover the Magic of Vibrant Pitfire Pottery Colors Using Coffee Grounds!
Understanding Reduction Firing
Reduction firing is a captivating ceramic process where the atmosphere within the kiln is manipulated to limit the amount of oxygen available during firing. This gives rise to a range of vibrant colors and unique finishes, making reduction firing distinct from its counterpart, oxidation firing.
The Basics of Reduction Firing
In reduction firing, the restricted supply of oxygen affects the chemical reactions within the clay and glazes. For instance, iron oxides within the materials can transform from a reddish hue in an oxidizing atmosphere to deeper shades of brown, green, or even blue in a reduction environment. This change is a result of the iron being reduced to a lower oxidation state due to the lack of oxygen.
Comparing to Oxidation Firing
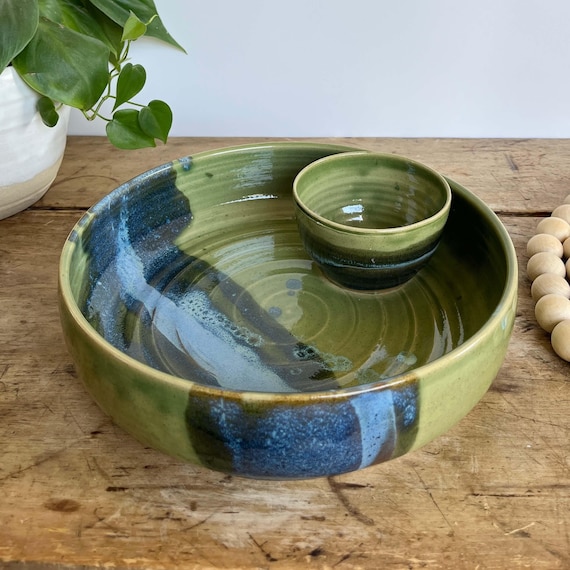
To further illustrate this, oxidation firing, which occurs in an oxygen-rich environment, often results in brighter, more predictable colors. However, for artists looking for unexpected outcomes and an element of surprise in their work, reduction firing presents an exciting challenge. Many ceramics artists embrace the beauty of unpredictability; pieces often emerge with textures, colors, and surfaces unlike anything achieved through oxidation.
Kilns Used in Reduction Firing
Several types of kilns are utilized for reduction firing, each offering unique benefits:
The Importance of Atmosphere
The atmosphere within the kiln significantly impacts the final results. During the firing process, artists often alter this atmosphere by introducing materials that burn and deplete oxygen. For example, adding sawdust or newspaper can create an effective reduction atmosphere. Each technique inherently offers different textural and color outcomes, adding an element of storytelling to each piece.
As you dive deeper into the world of reduction firing, the choice of materials and glazes plays a vital role in achieving desired results. This pivotal aspect brings us to our next section, where we will explore the various materials and specialized glazes that can elevate your reduction firing experience.
Materials and Glazes for Reduction Firing
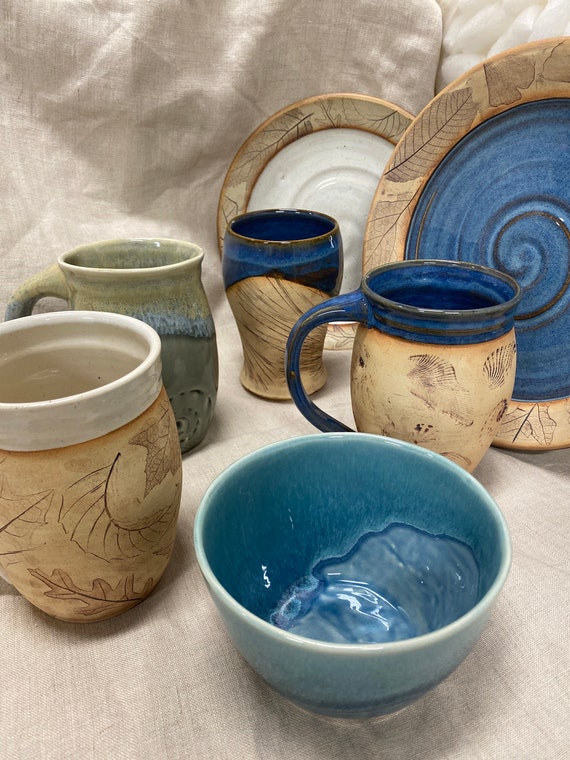
When embarking on the vibrant journey of reduction firing, careful selection of materials and glazes is essential for optimal outcomes. The right choices can lead to stunning effects, elevating your ceramic pieces from ordinary to extraordinary.
Choosing the Right Clay Bodies
The clay body you select significantly influences the end result. Not all clays are created equal in reduction environments. Here are a few popular options:
It’s also crucial to ensure your chosen clay can withstand the high temperatures involved in reduction firing—typically reaching 2300°F (1260°C) and above.
Selecting the Right Glazes
The glaze you apply can also make a significant difference in the vibrancy of colors. Look for glazes specifically formulated for reduction firing. Here are some characteristics to consider:
Additionally, combining different glazes can yield surprising results. For example, layering a reduction celadon over a speckled stoneware glaze may produce a unique and vibrant finish that enhances the clay’s inherent texture.
Additives for Enhanced Effects
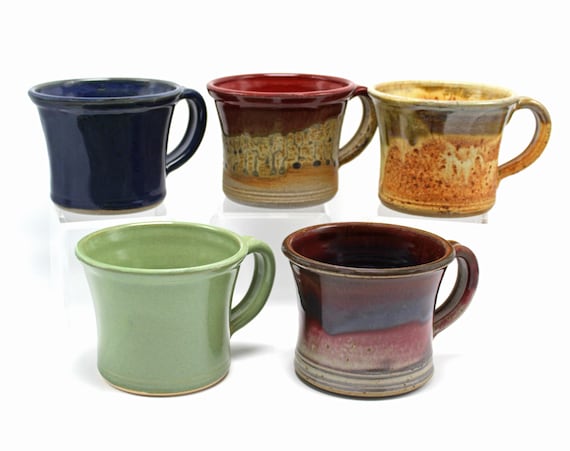
Integrating additives can further elevate your color vibrancy. Oxides like copper, cobalt, and manganese can be added to glazes to create vivid hues:
Experimentation is key; each firing will provide different results depending on the specific materials and techniques used.
As you prepare for reduction firing, understanding the materials and glazes is just the beginning. In our next section, we’ll explore the preparation process—essential steps to ensure success in this dynamic firing technique.
Preparing for Reduction Firing
Successfully navigating the reduction firing process begins with meticulous preparation. This step is crucial for achieving vibrant colors and stunning textures in your ceramic pieces. Let’s delve into the essential preparatory steps, including kiln loading, controlling atmosphere, and setting up an effective firing schedule.
Kiln Loading Essentials
The way you load your kiln can significantly affect airflow and heat distribution, which are vital in a reduction atmosphere. Here are some key tips:
Controlling the Atmosphere
Creating the right atmosphere in your kiln is a delicate balance. Here are some methods talented ceramists use to effectively control it:
Firing Schedule Setup
An effective firing schedule is your roadmap to success in reduction firing. Consider the following when planning yours:
Preparing well for reduction firing not only maximizes your chance of vibrant colors but also enhances the overall quality of your work. As you get ready to fire, it’s essential to consider the techniques you’ll employ to achieve those remarkable hues. In the next section, we’ll focus on specific techniques that can help you bring life to your ceramics through reduction firing.
Techniques for Achieving Vibrant Colors
In the realm of reduction firing, the quest for exceptional colors and finishes is akin to an adventurous journey. With the right techniques, you can transform your clay and glazes into magnificent works of art. Here, we’ll explore various methods to manipulate firing variables and achieve the desired outcomes in color and texture.
Layering Glazes for Depth
One of the simplest yet most effective techniques for enhancing color vibrancy is layering glazes. By applying multiple glazes on top of each other, you can create intricate visual effects. Here are some tips:
Mixing Color Techniques
Experimenting with mixture ratios can yield vibrant results. Consider blending different glazes or even incorporating colorants into a singular glaze. Techniques to keep in mind include:
Manipulating Firing Schedules
Your kiln’s firing schedule can significantly impact the colors you achieve. Here are suggestions on how to manipulate this aspect:
Timing of Reductive Phase
The timing during which you implement the reduction phase can make a world of difference in your colors. Here’s how to make it count:
Every technique allows for exploration, creativity, and, at times, delightful surprises. With these methods at your fingertips, you’re better equipped to navigate the colorful waters of reduction firing. Next, we’ll address common challenges artists face during this process and offer solutions to help you overcome them.
Troubleshooting Common Issues in Reduction Firing
While reduction firing can yield stunning results, it is not without its challenges. Even the most seasoned potters encounter issues like color inconsistencies, underdeveloped glazes, and defects. Here, we’ll explore common problems in reduction firing and provide practical solutions to help refine your techniques and improve outcomes.
Color Inconsistencies
One of the most frustrating issues potters face is achieving uneven colors on their pieces. Here are steps to identify and resolve this problem:
Underdeveloped Glazes
Sometimes glazes may appear dull or not fully mature after firing. Here’s how to enhance glaze development:
Defects in Pieces
Physical defects like cracks, warping, or pinholes can mar your beautiful creations. To mitigate these issues, consider the following:
Post-Firing Evaluations
Finally, keep a journal documenting your firings. Record the variations in glazes, firing schedules, and any modifications made. This will help you analyze outcomes and make data-driven adjustments in future firings.
With the right strategies at hand, you can tackle the inherent challenges of reduction firing head-on. By refining your techniques and learning from each firing experience, you can transform these challenges into opportunities for growth and creativity.
As we move towards the conclusion of our exploration of reduction firing, let us reflect on the boundless artistic potential it holds for ceramists willing to embrace its complexities.
The Artistic Potential of Reduction Firing
In conclusion, reduction firing offers potters an exciting opportunity to unlock vibrant colors that can elevate their ceramic work to new heights. By understanding the fundamental principles of reduction firing, selecting appropriate materials, and mastering the techniques we’ve discussed, artists can create stunning pieces that showcase their unique vision.
We encourage you to embrace the experimentation process, as each firing brings its own surprises and delights. The artistic potential of reduction firing is limited only by your creativity and willingness to explore. Dive in, play with glazes, and let the flames reveal their magic—your next masterpiece awaits!


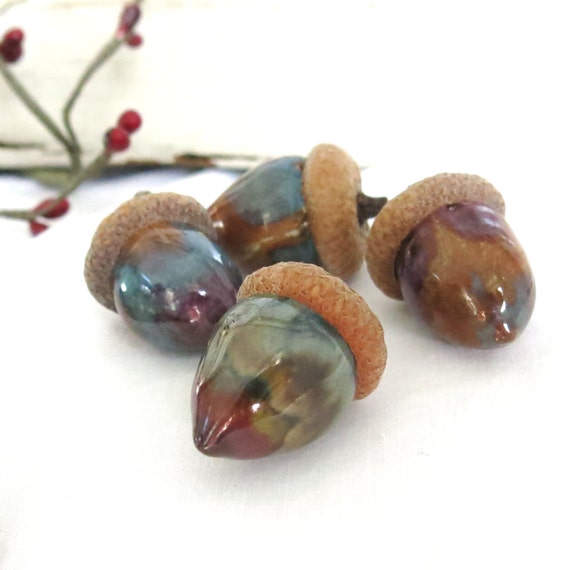
Wow, I never knew reduction firing could be so colorful! 🎨 I’ve always stuck to oxidation firing, but this article has me curious to try something new. Those handmade ceramic acorns sound adorable for fall decor! Looking forward to experimenting!
Thanks for your enthusiasm, Emily! The colors are truly vibrant. Let us know how your experiments go!
I totally get that! I just switched to reduction firing too, and it’s a game changer! 😄