Unlocking the Beauty of Celadon Glazing
Discover how to transform your pottery with celadon glazing techniques designed for various shapes. This guide will enhance both the aesthetics and durability of your creations, allowing you to showcase the stunning depth and richness of celadon glazes in your artistic work.
Essentials for Celadon Glazing
Choose Your Pottery Shape Wisely
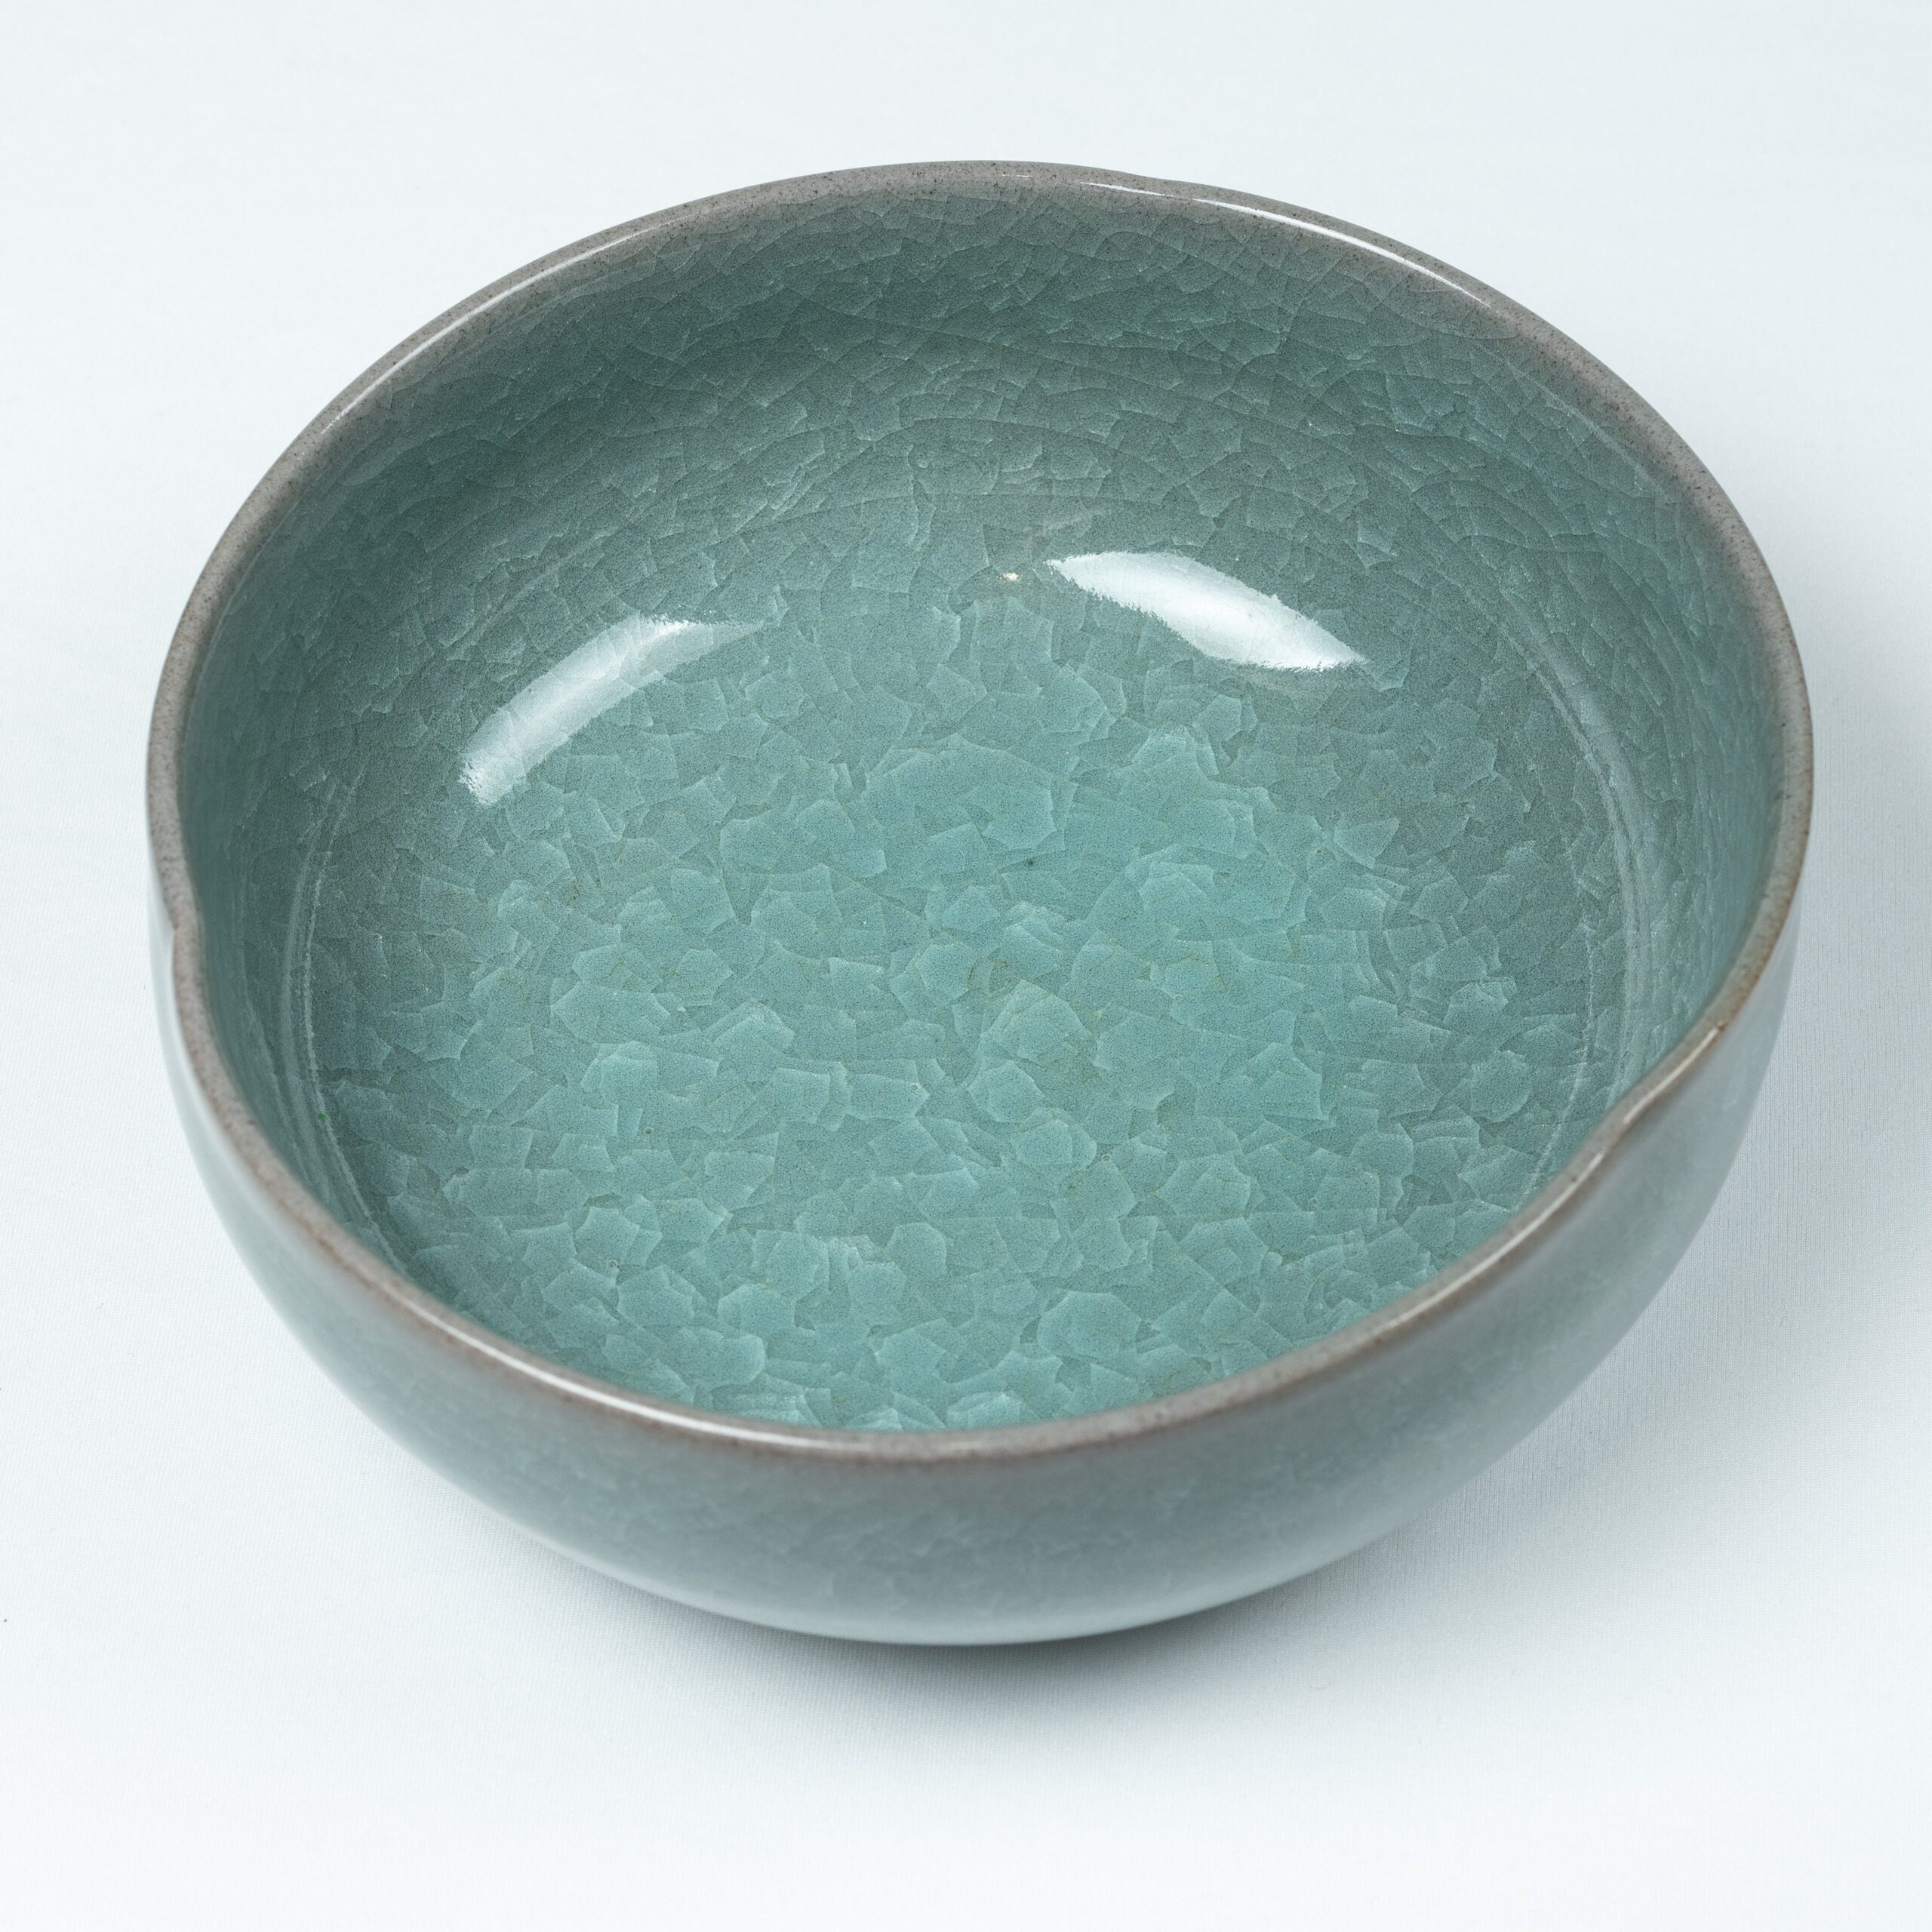
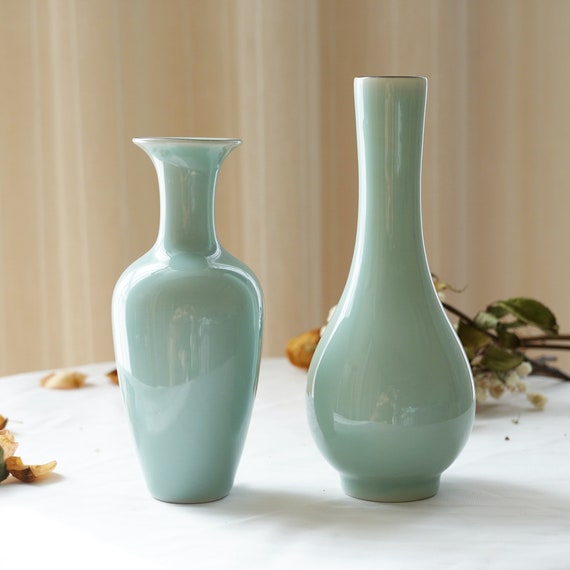
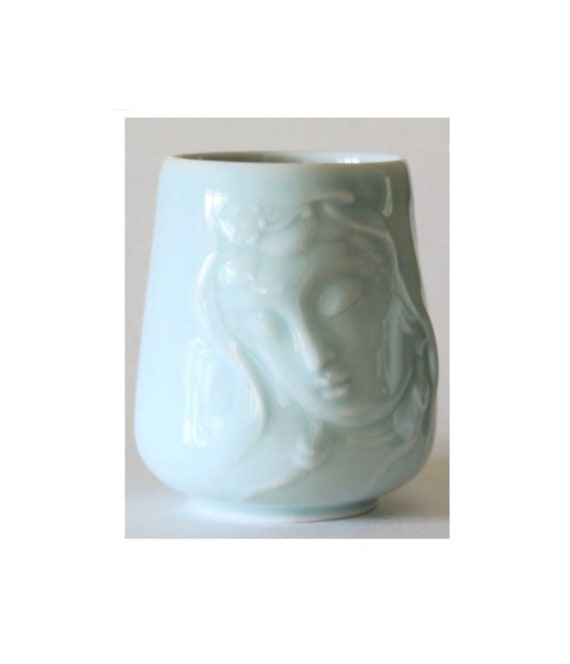
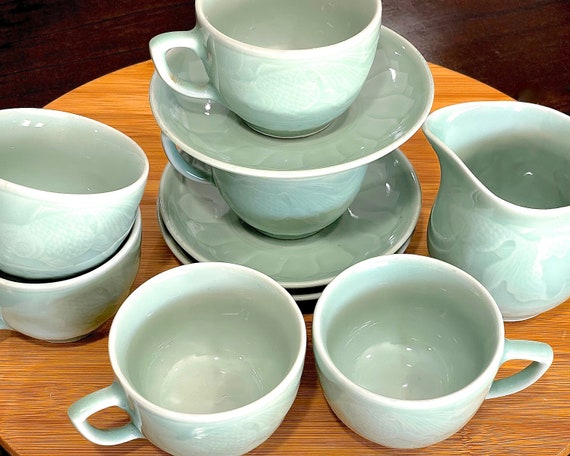
Not all shapes are created equal—discover the best candidates for celadon glazing!Select shapes that complement celadon glaze. Contoured forms like bowls, vases, and teapots showcase the glaze’s subtle hues and depth effectively. Avoid overly intricate designs that may obscure the glaze’s beauty.
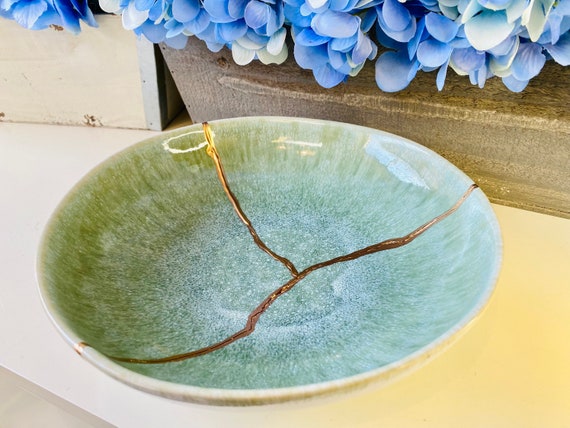
Consider size and curvature. Larger pieces provide a canvas to appreciate the glaze’s color variations, while curvy shapes highlight its flow. For instance, a round bowl allows the glaze to pool beautifully, resulting in rich tonal changes.
Experiment with functional and decorative items. Create dinnerware or decorative vases, ensuring the shape facilitates even glaze application.
By thoughtfully selecting your pottery shape, you set a solid foundation to highlight the enchanting qualities of celadon glazing in your work.
Prepare Your Clay Like a Pro
The foundation of great glazing starts with well-prepared clay—want to know the secret?Begin by wedging your clay thoroughly. This technique eliminates air bubbles and ensures an even consistency, preventing cracks during firing. Picture yourself kneading dough—the goal is to achieve a smooth, malleable texture.
Condition your clay. Assess its moisture level; if it feels too dry, add damp clay scraps gradually. If it’s too wet, let it air dry a bit. The ideal clay should be soft, yet hold its shape firmly.
Test your prepared clay by forming a small test piece. As you shape it, observe how it behaves under pressure. This ensures it’s ready for shaping into your desired pottery forms. A well-prepared clay body will allow celadon glaze to adhere evenly, enhancing the beauty of your final piece.
Mastering Celadon Glaze Application
Think glazing is easy? It’s an art! Uncover the nuances of celadon application.Choose your application method wisely. Experiment with dipping, brushing, or pouring to find which suits your style. For dipping, submerge your piece quickly to ensure an even coat; hold it for a few seconds and gently shake off excess glaze.
If brushing, apply the glaze in long, sweeping strokes. Start from the bottom and work your way up to avoid drips. Use a soft brush to achieve a smooth finish and perfect that silky celadon look!
Pouring is another fun option. Fill the piece slowly, allowing the glaze to flow evenly across the surface. This method works wonders for rounded shapes, as it showcases glaze movement beautifully.
Always aim for an even application. Check for drips and transparent spots, as they can affect the final aesthetic. Each technique opens up new possibilities for stunning results!
Firing Techniques That Bring Out the Best
Did you know firing temperature can make or break your glaze? Learn the science behind it!Understand your firing schedule. Celadon glazes perform best when fired in a reduction atmosphere. Aim for a temperature range of 2200°F to 2400°F in a gas kiln. Start at a higher ramp rate to promote even heating; this helps develop the glaze’s signature colors.
Monitor your kiln atmosphere. Use a cone or oxygen probe to gauge levels. Adjust your gas flow to create the optimal reduction, intensifying the glaze’s depth and complexity.
Experiment with cooling rates. A slow cooling process can enhance the green hues. For example, allow the kiln to cool gradually for several hours after reaching the peak temperature before opening it.
By mastering firing techniques, you’ll elevate the quality of your celadon-glazed pottery, revealing its true beauty and transform your art!
Experiment with Celadon Variations
Bored of the same old color? Discover how to create stunning hues with celadon!Modify your celadon glaze with additives. Consider incorporating iron oxide or copper carbonate to achieve different color effects. For example, adding a small amount of iron can create warm, earthy tones alongside the traditional green.
Layer your glazes for unique finishes. Apply a clear or transparent glaze over your celadon for a glossy surface that enhances depth. Try alternating layers of celadon and other glazes, like a glossy white or rich blue, to create striking visual textures.
Apply a wax resist technique. Paint wax on areas where you want to maintain the clay’s natural color before glazing. This can create captivating patterns and contrasts once fired.
By experimenting with these variations, you’ll unearth remarkable results that make your pottery truly one-of-a-kind!
Finishing Touches That Elevate Your Work
Want your pottery to shine? The final steps are crucial!Polish your pieces for added shine. After your pottery has cooled from the kiln, gently sand the base and any rough edges with fine-grit sandpaper. This enhances both aesthetics and functionality, ensuring your work is smooth to the touch.
Inspect each piece carefully. Look for imperfections or areas that may require extra attention. A quick visual check can reveal missed spots or uneven glaze application that could detract from the overall beauty.
Apply a food-safe finish if needed. If your pottery is intended for food use, ensure you use appropriate sealants or finishes that are non-toxic and safe for culinary purposes.
Showcase your kiln-finished creations. Arrange them in a well-lit space to highlight their beauty. Presentation can significantly elevate your work, inviting admiration from all who see it!
Embrace Your Celadon Journey!
With practice and experimentation, you’ll master celadon glazing, creating stunning pottery pieces. Don’t hesitate to share your results and inspire others in the pottery community. So gather your tools and get started—your beautiful creations await!


This guide is super helpful, but I’m still confused about the firing techniques. Do you think it’s okay to fire celadon in an electric kiln?
Absolutely, Tommy! Celadon glazes work well in electric kilns. Just make sure to follow specific temperature guidelines for the glaze you’re using.
I’ve done it in both electric and gas kilns, and it comes out beautifully either way. Just be mindful of the cooling process!
I found this guide while trying to figure out celadon for my ceramics class! I love the idea of experimenting with different shapes. Any suggestions for a good starting shape?
A simple mug or bowl is perfect for beginners! They’re functional and allow for plenty of glaze experimentation.
I started with cups. They’re fun and not too complicated!
Why does everyone love celadon? It seems a bit overrated. I think I prefer earthenware… 😅 But I’ll give it a try since you all seem to love it!
I think the appeal is in the subtlety of celadon. It’s like a gentle hug for your pottery! 😂
Totally fair, Ethan! It’s all about personal preference. Give celadon a shot and see how it resonates with you!
This is a great start for beginners! But I wish there was more on finishing touches. How do I really elevate my pieces?
I always do a final polish with a fine sponge after glazing. It gives a nice finish!
That’s a fantastic point, Lisa! You can consider adding carved designs or contrasting colors for a polished look.
I’ve just started with pottery and I’m loving this guide! The celadon glaze looks stunning in pictures, but does it take longer to dry?
I usually give it a good day or two before firing just to be safe!
Great to hear, Olivia! Celadon can take a little longer to dry than other glazes, but patience is key.
Interesting read! I’m a bit skeptical about celadon, though. Can it really improve my pottery skills? I mean, what if it turns out like a disaster? 😬
True that! I thought my first celadon piece was a flop, but it turned out to be my favorite!
It’s all about experimenting, Kevin! You might surprise yourself. Plus, even ‘disasters’ can teach you a lot.
This is such a thorough guide! I’ve been playing around with glazes but never tried celadon. Do you think I could incorporate it into sculptural pieces as well?
Definitely! Celadon can add a lovely touch to sculptural work. Just keep in mind how it interacts with the form.
I’ve done a few sculptures with celadon and loved the outcome. It really highlights the details!
I love how you broke everything down step-by-step. It made it much less intimidating! 🌟 Does anyone have suggestions for celadon variations? I want something a bit more unique for my next project.
I’ve seen some cool results by mixing celadon with transparent glazes. It creates a lovely depth!
Try layering different celadon colors or adding textures to your pieces! It’s a great way to add uniqueness.
I struggled with choosing the right pottery shape at first. I ended up with a lopsided bowl… 😅 But this guide really helped clarify things for me. I’ll definitely start with simpler shapes next time!
That’s a common struggle, Emily! Starting with simpler shapes can really help build confidence.
Haha, lopsided bowls are a rite of passage! I’ve made my fair share. 🤣 Keep at it!
Wow, I never realized how beautiful celadon glazing could be! I’m definitely gonna try it on some vases I’ve been working on. Thanks for the step-by-step guide! 😍 Just curious, how do you keep the glaze from running too much? Any tips?
I’ve had the same issue with running glaze before. I usually do a test piece first to see how it behaves before going all in.
Great question, Sarah! To prevent running, make sure to apply the glaze in thin layers and practice your firing techniques. It’s all about finding that sweet spot!