Introduction to Advanced Wheel Throwing Techniques
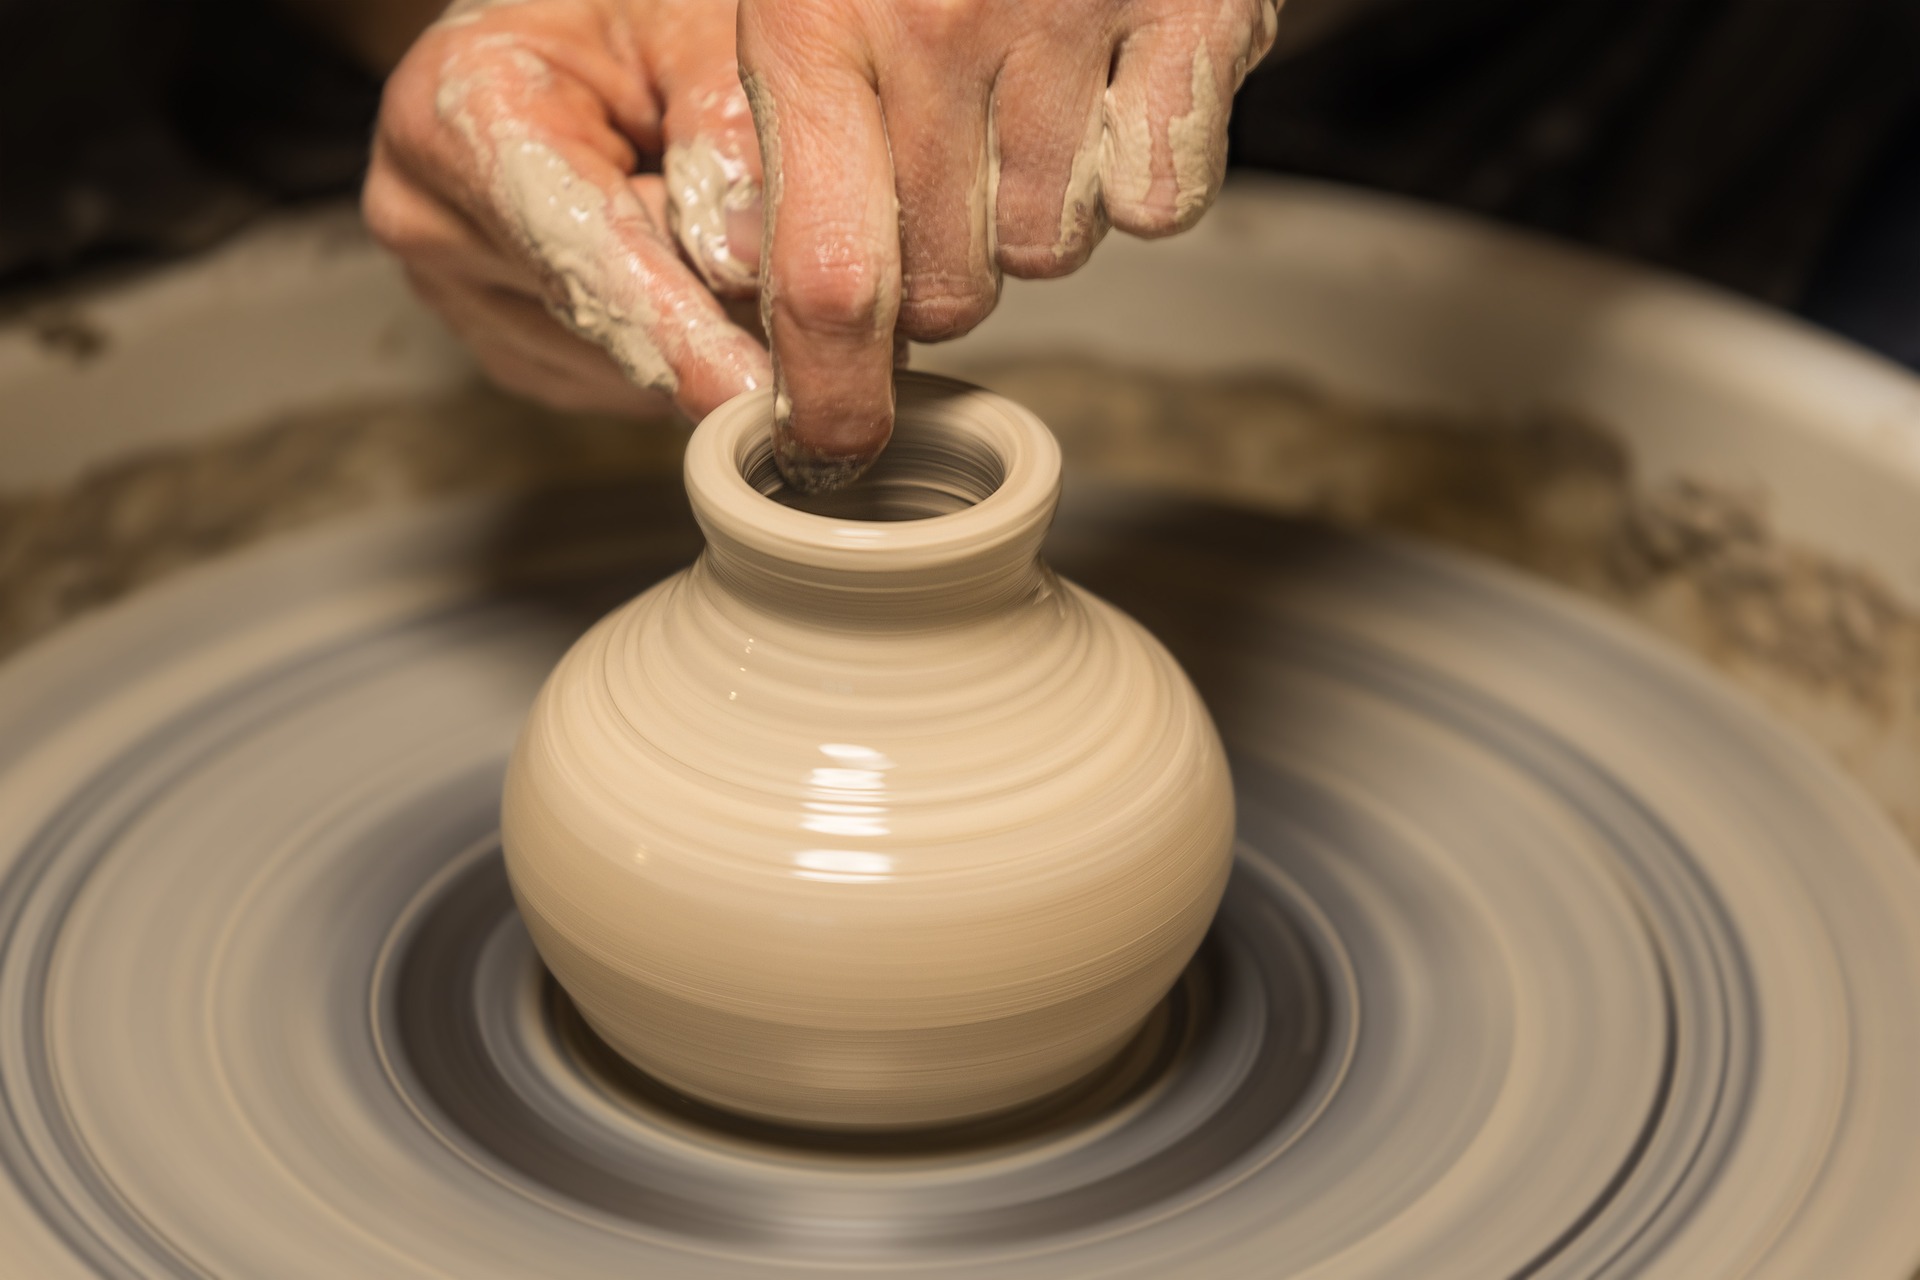
Wheel throwing is a captivating art form that combines technique, creativity, and endless possibilities. For potters, mastering the wheel is not just about creating functional pieces; it’s about expressing individuality through form and texture. Before diving into advanced techniques, it’s crucial to have a solid grasp of the basics.
This article invites you to explore the world of advanced wheel throwing techniques. We will delve into mastering form and function, experimenting with different clay bodies, and enhancing your pieces through glazing and surface decoration. Each section is designed to help you elevate your pottery skills and expand your artistic repertoire.
Whether you are a seasoned potter seeking new challenges or a passionate beginner ready to take the next step, embracing these advanced techniques will unlock your creative potential. Let’s embark on this exciting journey together!
Unlocking Advanced Pottery Techniques: Mastering the Wheel for Stunning Art
Mastering Form and Function
Understanding the dance between form and function is essential for every potter seeking to elevate their craft to advanced levels. A successful ceramic piece not only attracts the eye but also serves a practical purpose. Striking this balance requires careful consideration of balance, proportion, and functionality.
The Balance of Design
Creating forms that are visually appealing often hinges on achieving balance. This doesn’t just mean distributing weight evenly; rather, it involves harmonizing visual elements so that the piece is easy on the eyes and feels right in the hand. For example, when throwing a heavy bowl, consider how the form narrows at the base. A flared rim can give an illusion of lightness despite the bowl’s overall heft. This is where advanced techniques, such as altering the base after throwing, can come into play.
Proportional Perspectives
When thinking about proportion, it’s helpful to approach your pottery like a sculpture. The dimensions should relate to each other to evoke a pleasing aesthetic. A tall vase, for instance, needs a wider base to maintain stability. Pay close attention to the ratios of height to width. Many experienced potters find that following the Golden Ratio can serve as a guideline for achieving beautiful proportions. As you start experimenting, don’t hesitate to make adjustments, cutting down or adding clay to perfect your shape.
Functional Beauty
A piece’s functionality should never be overlooked. If you are crafting a mug, address not just how it looks, but how it feels to hold. Does the handle provide a comfortable grip? Is the lip easy to drink from without spilling? As you refine your shapes, always test them out. Ask yourself, “Can this serve its purpose effectively?” Inviting feedback from peers can also provide insights into functionality you might not have considered.
Refining Your Craft
To improve your craftsmanship, practice is vital. Set up regular times dedicated to throwing because repetition is often the best teacher. As you create, strive for thinner walls and refined edges; this attention to detail can transform ordinary pieces into extraordinary ones. Always remember that each piece is a reflection of your skills—don’t shy away from discarding what doesn’t meet your increasingly high standards.
By mastering the intricate relationship between form and function, you’ll set a strong foundation for exploring different clay bodies in the next section. Each clay type will present unique challenges and opportunities that can enhance your understanding of these principles. Let’s dive deeper!
Exploring Different Clay Bodies
As potters advance in their wheel throwing journey, the choice of clay body can significantly influence the throwing experience and the final outcome of each piece. Understanding the characteristics of different clay types—stoneware, porcelain, and earthenware—allows artists to select the right medium for their specific projects, artistry, and desired final effect.
Stoneware: Durability Meets Versatility
Stoneware is favored by many potters for its robust nature and versatility. Typically fired at high temperatures (around 2300°F), it becomes impervious to water, making it excellent for functional ware. Key characteristics include:
An example of stoneware’s utility is when creating large serving bowls. Its strength allows for the crafting of expansive forms without the fear of compromising structural integrity.
Porcelain: The Prestige of Precision
Porcelain often represents the pinnacle of ceramic artistry. Known for its translucence and fineness, it requires more skill during the throwing process due to its affinity for warping. Some distinguishing traits include:
For potters looking to create intricate vases or delicate tableware, porcelain presents an exciting challenge that rewards precision and technique.
Earthenware: The Artisan’s Choice
Earthenware, often recognized for its affordability and ease of use, is perfect for those just starting or looking to create decorative pieces. It is generally fired at lower temperatures (around 1800°F) and exhibits the following characteristics:
A weekend retreat project could involve using earthenware to craft whimsical, colorful pots for indoor plants. Its forgiving nature encourages experimentation and creativity.
Choosing the Right Clay for Your Project
Selecting the appropriate clay body often depends on the intended function and aesthetic of the final piece. Here are some tips:
This exploration of clay bodies opens the door to enhancing your throwing experience. Next, we will delve into advanced throwing techniques that can elevate your craftsmanship even further. Happy throwing!
Advanced Throwing Techniques
As you deepen your understanding of wheel throwing, it’s time to explore techniques that push the boundaries of traditional forms. This section focuses on techniques for altering shapes right on the wheel, creating multi-part forms, and incorporating texture into your work. Each method comes with step-by-step instructions and suggestions for practice projects.
Altering Shapes on the Wheel
One of the most exciting aspects of wheel throwing is the ability to alter forms while they’re still spinning. This not only gives a unique character to your pieces but also allows for creativity that can transform functional ware into art.
Step-by-Step Process:
- Center the Clay: Begin as you normally would by centering your clay on the wheel.
- Throw Your Base Shape: Create your standard form (like a cylinder or bowl).
- Start Altering: As the piece spins, use tools or your hands to bend, stretch, or pinch areas of the form. For example, you can create a fluted rim by gently pinching while applying upward pressure.
- Add Function: Consider how these alterations can serve a purpose. A jug can develop unique handles or styles while still retaining functionality.
Suggested Project:
Create a series of mugs with unique rims and handles, experimenting with various techniques to give each a distinct personality.
Creating Multi-Part Forms
Crafting multi-part forms can elevate your work into the realm of sculpture and design. This technique allows you to combine elements, creating pieces that are cohesive yet complex.
Step-by-Step Process:
- Design Planning: Sketch your desired multi-part item (like a teapot with a separate lid).
- Throw Individual Components: Start by throwing the main body, then the lid or any additional parts.
- Join the Pieces: When the pieces are leather-hard, score and slip where they will connect, then press them together firmly. This method ensures a strong bond between your parts.
- Refine the Seam: Use a soft rib or your fingers to blend the seam, smoothing any rough edges for a polished finish.
Suggested Project:
Make a teapot complete with a lid and spout. This project requires thoughtful consideration of proportions and functionality.
Incorporating Textural Elements
Adding texture can enhance both the visual appeal and tactile experience of your pottery. Whether through carving, impressing, or using texture tools, this element creates depth in your work.
Step-by-Step Process:
- Choose Your Clay: Select a clay body that holds texture well, like stoneware.
- Throw Your Base Form: As you create your piece, leave areas where textures will go smooth.
- Add Texture: While the piece is still wet or leather-hard, use tools—or even found objects—to impress designs into the surface. Try using shell patterns, fabric, or even lace.
- Finish Up: After allowing the piece to dry, ensure that any raised textures are smooth and refined.
Suggested Project:
Craft a series of plates featuring different textures, such as wavy lines, spirals, or nature-inspired impressions. Each texture can evoke different aesthetics and functions.
By experimenting with these advanced throwing techniques, you will discover new creative pathways and refine your artistic voice. As you play with shape, form, and texture, you may find unexpected combinations that lead to innovative designs.
In the next section, we’ll transition from forming to finishing, enhancing your pottery through glazing and surface decoration techniques. Let’s continue building our skills!
Glazing and Surface Decoration Techniques
Glazing and surface decoration play a pivotal role in the final presentation of wheel-thrown pieces, transforming raw clay into stunning works of art. This section will explore advanced glazing methods alongside decorative techniques that unveil a pottery piece’s personality and narrative.
Layering Glazes for Depth
Layering glazes can create complex visual effects that add vibrancy and depth to your surfaces. This technique involves applying one glaze over another for a multi-dimensional look.
Steps for Layering Glazes:
- Select Compatible Glazes: Choose glazes that can complement each other without muddying. Test small samples first to see how they interact.
- Base Glaze Application: Apply your first glaze (base) to your piece and fire it according to the manufacturer’s instructions.
- Second Layer: For the second glaze, allow the first layer to cool completely. Apply and fire again.
- Experiment: Play with different combinations and opacity levels—to create a textured or marbled effect.
Example:
For a vibrant vase, start with a deep turquoise base glaze, followed by a layer of cream over the top. The combination can yield intricate color variations due to the interaction during the firing process.
Underglazing for Detailed Designs
Underglazing allows for intricate designs and patterns to be applied before glazing, providing a protected base layer that shines through the final finish.
Steps for Underglazing:
- Prepare Your Surface: Ensure your piece is leather-hard and free of dust.
- Applying Underglaze: Use brushes, sponges, or stamps to apply the underglaze. This is ideal for adding detailed patterns or imagery.
- Let It Dry: Allow the underglaze to dry before applying your clear glaze over it. Be cautious not to smudge.
- Fire: As with glazing, follow firing instructions to seal and enhance the colors.
Tip:
Consider using contrasting colors for your underglaze; for instance, a rich red over a light-toned clay can create striking visuals.
The Use of Slips
Using slips—liquid clay mixed with colorants—opens up a range of decorative possibilities. Whether for painting, pouring, or stencil applications, slips can transform your pottery with texture and color.
How to Use Slips Effectively:
- Mixing Your Slip: Create a slip that matches the clay body or use commercial slips designed for specific effects.
- Application Methods:
- Pouring: Pour colored slip onto a thrown piece to create a dramatic effect.
- Painting: Use specialized brushes to apply slip designs like you would with paint.
- Stenciling: Apply slip through a stencil for precise imagery.
- Layering: Combine slips with glazes for interesting results, particularly when you don’t overapply—the slip becomes a part of the underlying piece.
Practical Application:
Craft a bowl with a pouring slip technique; a vibrant blue slip can flow into soft earth tones, creating a stunning ocean wave effect.
Final Touches
Remember, glazing and decoration can be as personal as the throwing process itself. Keeping detailed notes on your glazes, application methods, and firing results allows you to fine-tune your skills and reproduce favorite effects with consistency.
As you dive into glazing and surface decoration, think of it as the finishing brushstrokes of your creative journey. Mastering these techniques not only elevates your work but also ties in beautifully with troubleshooting common issues that can arise in the glazing process. Let’s continue to explore how to achieve the perfect finish!
Troubleshooting Common Issues
Despite an artist’s best efforts, wheel throwing can present challenges that can lead to frustration, especially as techniques become more advanced. The key to overcoming these hurdles lies in understanding the issues and implementing practical solutions. This section explores common problems like warping, cracking, and uneven walls, offering actionable advice to navigate these obstacles toward achieving your desired art.
Warping: Preserving the Shape
Warping can occur during drying or firing, particularly with larger pieces or when the clay is unevenly thick. Here’s how to diagnose and prevent it:
Cracking: Preventing Stress
Cracking is often caused by shrinkage or uneven drying. Here’s how to tackle this issue:
Uneven Walls: Achieving Balance
Uneven walls can compromise the structural integrity and aesthetic of your pottery. To diagnose and rectify this issue:
Solutions Tailored to Your Workflow
Ultimately, the act of troubleshooting encourages a growth mindset, transforming potential setbacks into learning opportunities. As you apply these techniques, remember that each challenge can lead to improvement and innovation in your practice.
With these strategies in hand, we can now turn our attention to the final stage of the pottery-making process. As we embrace the journey of wheel throwing, let us explore the transformative world of glazing and surface decoration techniques!
Conclusion: Embracing the Journey of Wheel Throwing
As we wrap up our exploration of advanced wheel throwing techniques, remember that the path to mastery is filled with both challenges and rewards. Each lesson learned—whether about achieving the perfect form, experimenting with unique clay bodies, or mastering intricate glazing techniques—contributes to your growth as a potter.
Embrace the process of experimentation and allow yourself to make mistakes; they are invaluable moments of learning. The art of pottery is not just about creating beautiful pieces but also about enjoying the journey along the way. So, keep your hands in the clay, trust the process, and continue to push your creative boundaries. Happy throwing!


I totally agree with Jake about needing more examples! Also, I think glazing is an art in itself. Anyone else feel like it’s harder than throwing? 😂
Right? I can throw a bowl, but glazing? That’s a whole other level! 😅
Glazing can definitely be tricky, Oliver! It’s all about layering and practice. What types of glazes have you been experimenting with?
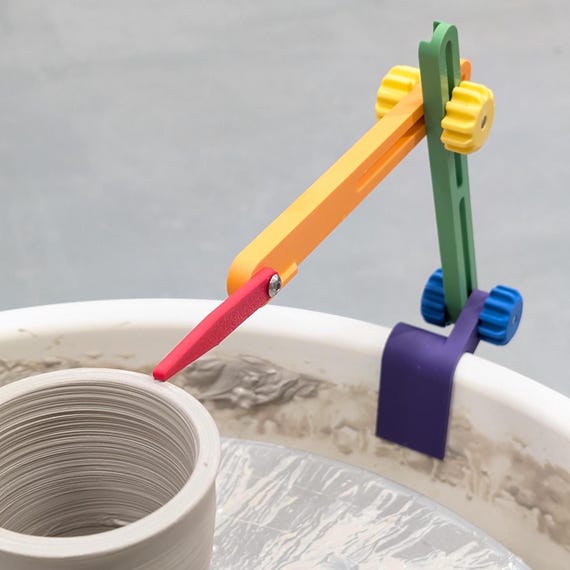
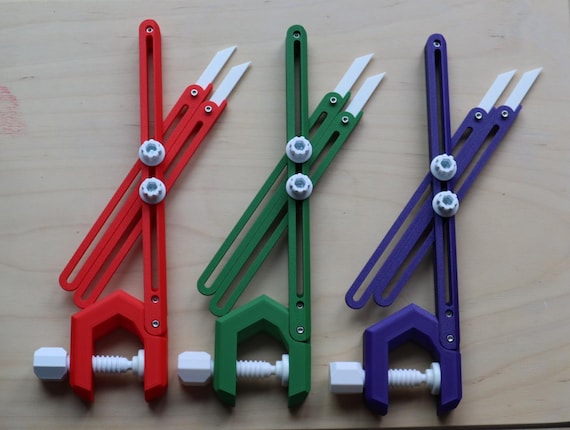
I’ve been using a regular pottery wheel for years, but I’m considering switching to a new model. Any recommendations? Also, that dual-arm throwing gauge looks interesting!
I’ve heard great things about the dual-arm gauge! It really helps with stability while throwing. As for wheels, check out some reviews on Etsy! Lots of options.
Great question, Tina! The dual-arm gauge is perfect for advanced work, and about the wheel, it really depends on your budget and space.
Thanks for the article! I’m not super advanced yet but the tips on form and function were super useful. I feel like I’m finally starting to see some improvement! 🎉
So happy to hear that, Rachel! Keep it up and don’t hesitate to ask if you have more questions!
Awesome, Rachel! It’s all about practice and patience. You’ll get there!
I’m a beginner and honestly, some of these advanced techniques feel a bit overwhelming. Do you think I should just stick to basics before trying any of these?
Hey David, I totally get that! I’d suggest practicing the basics first, but don’t be afraid to experiment with some of the techniques mentioned. Just take it slow! 😊
That’s a great approach, David! Mastering the basics will definitely help you feel more confident when trying advanced techniques.
This was a great overview, but I’d love to see more on surface decoration techniques. I find that part fascinating! Any suggestions on where to find more detailed info?
Great tip, Mark! YouTube is a fantastic resource for visual learners, Samantha. Let us know if you find anything cool!
You can check out some pottery tutorial channels on YouTube! They often have in-depth guides on decoration techniques.
I appreciate the tips on different clay bodies. I never realized how much they could change the final product! I’d love to experiment with some different types. Any suggestions?
Stoneware is a great choice, Kevin! Also, consider trying porcelain if you want to challenge yourself. Just be careful, it can be tricky!
Definitely try stoneware if you haven’t! It’s super versatile and holds detail really well. 😊
This was a solid read, but I wish there were more examples of each technique. Seeing them in action helps me learn better! 🤔
Thanks for the feedback, Jake! We’ll consider adding more visuals in future articles. What specific techniques are you most interested in?
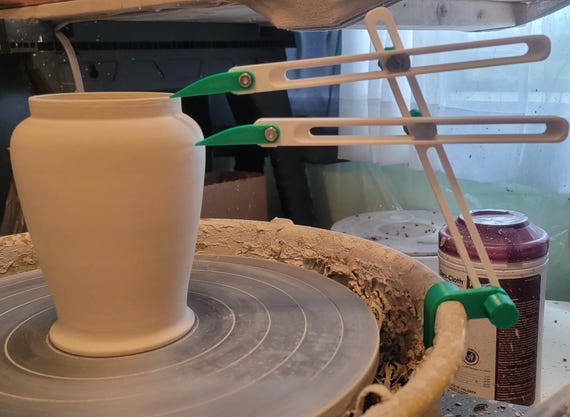
I loved the section on troubleshooting! Sometimes I feel like my clay has a mind of its own. 😂 Do you think the clamp-on height throwing gauge would help with that?
For sure! The clamp-on gauge can help you maintain the right height and control your clay better. It’s a game changer!
Absolutely, Emily! Keeping your height consistent can really reduce those pesky issues. Have you tried any specific techniques yet?
This article was super helpful! I’ve been trying to up my wheel throwing game, and the tips on glazing really caught my attention. I never knew how much of a difference the right glaze can make. 😊 I might just order that set of 3D printed pottery ribs next! Anyone here tried them?
I got the 3D printed ribs last month and they are amazing! Definitely worth it! Helps with shaping so much better than the regular ones.
Glad you found the article helpful, Sarah! The 3D ribs can really elevate your work. What kind of pieces are you planning to make?