
Quick Start: Mix & Apply Slips with Confidence
We will guide you through mixing and applying ceramic slips so you get smooth, consistent results every time. This quick guide covers safety, measuring, thinning, testing, applying, finishing, ideal for beginners and experienced potters seeking cleaner slips with confidence today.
What We Need
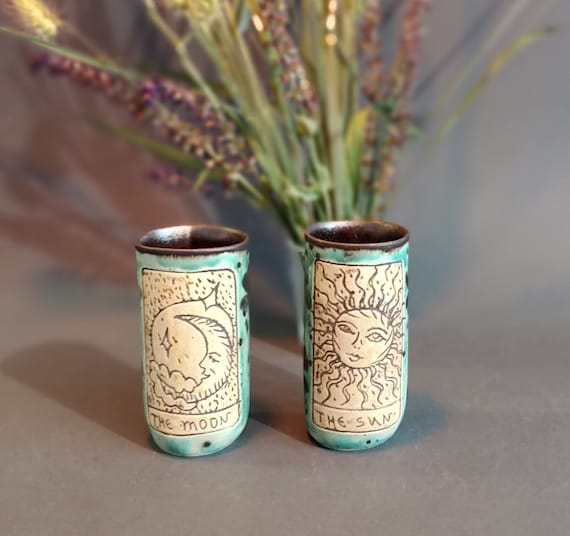
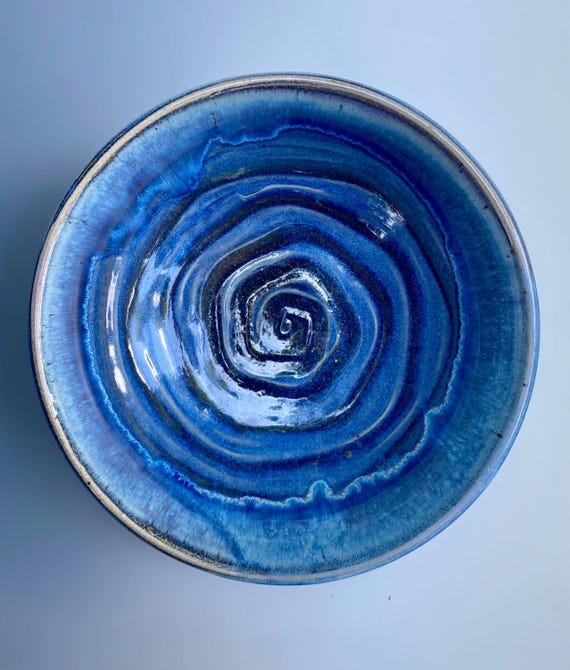
Applying a Swirly Slip Coating to a Freshly Thrown Pot with Paul Linhares
Step 1 — Know Your Slip: Types, Purpose, and Safety
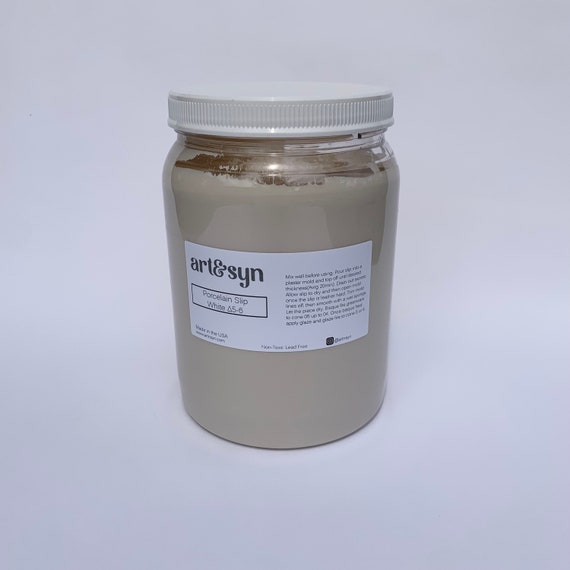
Why one slip doesn’t fit all — and how simple safety keeps our studio running longer.Understand that slip is a liquid suspension of clay used for joining, decorating, or casting. Know the difference: creamy brushing slips (thicker, coats well), pourable casting slips (fluid, fills molds), and slip-cast bodies (very free-flowing for plaster molds).
Wear proper PPE: use a mask and gloves when handling dry powders, work wet whenever possible, and avoid inhaling dust—dust control prevents long-term health issues.
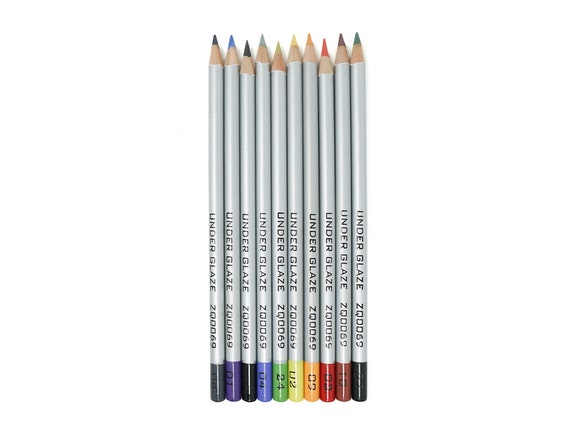
Choose compatible clay and stains to prevent crazing or color shifts after firing; test a small tile if unsure. Measure ingredients by weight for repeatable results, note water quality (soft water is better) and room temperature.
Record every recipe and take photos of texture and drying behavior so we can reproduce successful mixes later.
Step 2 — Measure Like Pros: Scales, Ratios, and Test Batches
Want consistency? We obsess over grams — it’s the difference between guesswork and repeatable success.Weigh ingredients on a digital scale so we can reproduce mixes precisely. List clay, water, and additives in grams and keep ratios constant when scaling recipes.
Start with a test batch of about 500 g total so we don’t waste materials. Record wet and dry weights separately and note ambient humidity and temperature—these affect flow and drying.
Label containers with recipe, date, and intended firing. Keep a master spreadsheet to track changes and results.
Step 3 — Mix & Sieve: Getting the Right Texture
Think of mixing as cooking — the right tools and timing make the whole dish succeed. Who knew sieves could be this satisfying?Wet dry clay slowly into water while stirring to prevent dry clumps. Use a drill-mounted mixer or mechanical stirrer for larger batches; for small batches we use a whisk and elbow grease.
Mix until the slip is homogeneous and free of lumps, then pass it through a fine sieve (80–200 mesh) to remove grit and unmixed particles.
Adjust with water in very small amounts or add deflocculant per manufacturer guidance. Let the slip rest for at least an hour to release trapped air, then stir gently before testing. Keep a note of mixing time and equipment used.
Step 4 — Test Small: Trials, Drying Behavior, and Color Checks
A tiny test saves huge headaches — we never skip this step, and neither should you.Test small on bisque tiles or scrap pieces to save clay and time.
Apply the slip exactly as we will on the final piece—brush, pour, or spray—and simulate the same stroke or pour speed.
Document drying time and note any crawling, pinholing, or surface texture changes.
Measure layer thickness before and after drying with a caliper or by weighing a known-area tile to estimate shrinkage and likely fit.
If cracking or crawling occurs, adjust consistency, add a small plasticizer, or change application technique. Iterate quickly: tweak the recipe, remix, sieve, and retest. Photograph each sample and record the kiln shelf and firing curve in our notes.
Step 5 — Apply Like a Pro: Brushing, Dipping, Pouring, and Trailing
The same slip can look primordial or pristine depending on how we apply it — technique is everything.Brush with soft natural-bristle brushes; load evenly and apply multiple thin coats rather than one thick coat so our pieces dry uniformly.
Dip by immersing slowly—control immersion speed and drain time, then tilt the piece to let excess run off neatly to avoid drips.
Pour for interiors and large surfaces—support the piece, pour steadily while rotating to spread slip, and use a rib or paddle to level if needed.
Trail to decorate—practice pressure control on scrap until our lines are consistent, keeping a steady wrist and clean nozzle.
Keep tools and edges wet to prevent buildup and clean seams with a damp sponge for crisp joins.
Layer colors carefully—test interactions and fire between layers when necessary.
Batch work to prevent cold joins and finish edges while the slip remains open.
Step 6 — Store, Maintain, Troubleshoot, and Fire
Good habits extend shelf life — storage and cleanup are as important as mixing the slip itself.Store unused slip in sealed, labeled containers and cover the surface with plastic to reduce skinning. For long storage, keep containers cool (basement or fridge) and remix before use — we keep a small test jar to check freshness.
Clean sieves and tools immediately using hot water and a stiff brush to prevent hardened clay buildup; never pour concentrated slip down drains — strain into a bucket and let solids settle.
Remix thickened slip before use. If slip separates, homogenize with a mixer and adjust deflocculant or binder in small test batches until behavior matches our standard.
Troubleshoot common problems:
Follow clay and glaze firing schedules and log shelf positions and kiln load notes to reproduce successes.
Review notes, update recipes, and share findings widely.
Finish Strong: Practice and Refine
With these six steps we’ve demystified slip mixing and application so our pieces fire predictably and look better; practice, record-keeping, and small tests build confidence—try one project using our process today, adapt recipes as you learn, and share your results.


Heh, ‘Measure Like Pros’ made me feel like I should buy a lab coat. 😂
But honestly, the emphasis on test batches was worth it. I skipped tests once and ended up with streaky color on a whole set.
Also, the brushing vs dipping tips were gold — didn’t realize how much technique affects texture.
Appreciate the troubleshooting bullet points in Step 6 too. Pro tip: keep a little logbook of each batch (ratios, temp, outcome).
Lab coat optional, logbook highly recommended! Thanks for sharing the streaky color tip — keeping records helps isolate variables.
Agreed — and photos of wet vs dry tiles saved me so many headaches when matching colors later.
Also note humidity and kiln ramp — they can affect the same batch differently on different days.
Photos + notes = a priceless combo. We’ll add a logbook template in the next revision.
Logbook is the unsung hero. I can trace back a great finish to a tiny ratio tweak months later.
Quick question: for Step 3, how fine should the sieve mesh be for dipping slips? The guide mentions sieving but not exact numbers.
I usually start with 80 and keep a 120 for glossier slips. Test on a tile first — that’s what Step 4 is for!
Great question. For dipping slips, a 60–80 mesh (around 250–180 microns) is common, but it depends on the clay body and desired finish. If you get specks, try finer sieves; if flow is too slow, go coarser.
Okay, long post incoming — I’m a teacher and bring students to the studio once a month. This guide helped me prep a lesson plan.
– Quick Start gave a nice confidence boost to new folks.
– Step 1 safety checks are classroom essentials; I make the kids read them aloud.
– Step 2: I loved the recommended test batch sizes — small, cheap, and super informative.
– Step 4 color checks: we painted a spectrum chart and it’s now pinned on the wall.
Thanks for making it classroom-friendly. A few more step-by-step photos for the sieving would be great though!
Thank you, Aisha — what a wonderful application! We’ll add more step photos for sieving and a printable student checklist.
That’s awesome! If you ever share pics of your class’s color chart I’d love to see — sounds fun.
Teaching tip: give each student a mini logbook page so they can compare results over time. Kids love seeing patterns.
Photos for sieving = yes. Also a short video on mixing consistency would be perfect for classes.
I tried the trailing technique from Step 5 last weekend — looks amateur but practice will fix that. 😂
One thing I messed up: I didn’t sieve enough and had little beads while trailing. After sieving finer, much better.
Also, storing slips in clear containers helped me see separation so I could remix before use.
Love the honesty, Ben — trailing takes time. Good call on clear containers; it’s a simple trick to catch separation early.
If you get beads when pouring, sometimes a drop of deflocculant helps — but test first!
Beads are natural at first. Try a lighter hand and slightly thinner slip for trailing if you want smoother lines.
This guide is one of the better step-by-steps I’ve read.
I particularly appreciated the ‘Measure Like Pros’ part — scales, ratios, and test batches are underrated. Measuring changed my consistency overnight.
Step 3 mixing technique (slow stir, rest, remix) was super practical. I do wish there was an FAQ about commonly used additives (like bentonite, CMC, deflocculants) and when to use each.
Overall: very approachable, good for beginners but also useful reminders for intermediate makers. Keep these coming!
Deflocculant tip: tiny amounts go a long way. Always test small increments.
Agree on additives. A quick cheat-sheet for % additions vs effect would be so useful for classes.
Thanks, Sophie — great feedback. We’ll add an FAQ on additives and when to use them in the next update.
All excellent notes — we’ll compile a simple additives cheat-sheet with typical ranges and effects.
Bentonite is great for suspension but can affect color; CMC helps brushability. Worth testing.
This guide was super helpful for my first slip attempt.
I followed Step 2 exactly — scales and small test batches saved me from a disaster. 😅
One thing I didn’t expect: the drying behavior changed depending on how humid it was in my garage.
The Quick Start gave me confidence, but the troubleshooting tips in Step 6 were the real MVP.
Thanks for including sieving in Step 3 — my slip was so lumpy before I started doing that!
Covering is a game-changer. Also try small silica packs in your storage if humidity swings are wild where you are.
I had the same problem last winter — moved my test area indoors and it was night and day.
So glad it helped, Maya! Humidity can absolutely change drying times — if you want, try covering test tiles with a plastic tent to slow evaporation and compare results.
Nice overview. I liked the ‘Finish Strong’ section — practice makes huge difference.
Only thing: maybe add a short troubleshooting flowchart for common problems (pinholes, crawling, crazing).
Thanks, Elena. A flowchart is a great idea — we’ll work on a visual troubleshooting guide.
Pinholes often mean trapped air or too-thick slip. Crawling? Check contamination or oils on the bisque.
So uh, I followed Step 5 and my mug got covered in tiny pinholes after firing. Not thrilled. 😑
Any quick fixes?
Also check your bisque temp and ware cleanliness. Sometimes grease from hands can cause pinholing.
Pinholes can be caused by trapped air, organics burning out, or contamination. Try finer sieving, slower drying, and check for oily surfaces on greenware. If it’s frequent, post a photo and we can help troubleshoot.
Loved the safety section in Step 1. A couple of extra notes from my experience:
– Wear a respirator when handling dry materials, even when you’re just weighing.
– Label containers clearly so you don’t accidentally mix slips with glazes.
– For firing, double-check kiln wash and shelf placement — slips can run if porous clay and slip combo aren’t compatible.
Would’ve liked a tiny chart about common slip vs body reactions, but overall solid guide.
Labeling saved me once. Had a tub of +10% flux slip sitting next to a normal one and nearly used the wrong on a test piece 😬
Yikes, Aisha — glad it turned out okay! For powders, I also recommend small airtight jars with desiccant.
Totally agree on respirators. Dust is sneaky — I had a coughing spell after a batch of raw powder mishap.
Thanks for the additions, Priya — all excellent points. We’ll consider adding a small compatibility chart in a future update.